Make a Marshmallow That's Good and Good for You
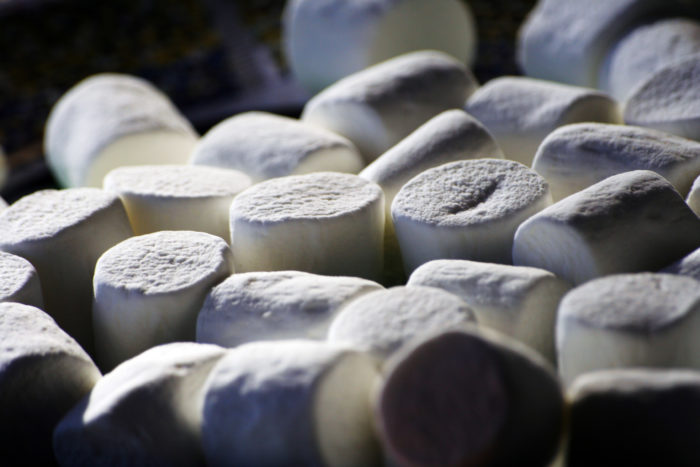
If there's one food that's synonymous with camping, it might very well be the humble marshmallow. These white squares of puffy deliciousness toast at the end of sticks, drop cozily into cocoa, and make a great snack when you need a quick burst of energy (or just some flavor).
Marshmallows also happen to be a major staple of the season (at least in my opinion), as they appear in holiday art and in music aplenty. There'll be parties for hosting, marshmallows for toasting, and caroling out in the snow.
So: marshmallows for camping during the holiday season' Pure magic. You can light a crackling fire, sit back in your comfy chair (with a side table to keep all of your goodies in order and at arm's reach), encourage a 'Jingle Bells' sing-along under the stars, and be happy. It's the most wonderful time of the year.
Sure, you could buy some of these fluffy nuggets at the store, but if you make them at home, you know exactly what's going into them'ingredient and flavor-wise'and you can bask in the warm glow of your own culinary self-accomplishment. Plus, you can add in some healthy bonuses, like probiotics. It's a Christmas miracle!
HOMEMADE MARSHMALLOWS
INGREDIENTS
- 4 Tablespoons of pasture-raised gelatin powder (can substitute unflavored gelatin)
- 1 cup of water
- 1 Tablespoon of marshmallow root
- 1 cup of honey
- 1 teaspoon of vanilla (can substitute other liquid flavors: mint, lemon, lavender, chocolate)
- 4 capsules of shelf-stable probiotics (optional)
- Equipment
- Small sauce pan
- Beaters with a metal bowl or mixer
- Mesh strainer
- Candy thermometer (optional)
- 13-by-9-inch pan
THE METHOD TO THE MARSHMALLOWS
- Combine 1 cup of hot water with marshmallow root. Let sit for one hour (or overnight in the fridge). Strain out the marshmallow root. Be sure liquid equals one cup (add water if necessary to equal one cup).
- Put 1/2 cup of marshmallow root liquid into a metal bowl or kitchen aid mixer. Add 4 Tablespoons of gelatin and whisk to incorporate. Let sit.
- Meanwhile, mix remaining 1/2 cup of marshmallow root mixture with 1 cup of honey in a small saucepan.
- Slowly bring water-honey mixture to a boil, stirring constantly. Boil gently until the mixture reaches 240 degrees (if you don't have a candy thermometer, just boil for 8 minutes).
- Slowly pour the honey mixture into the gelatin mixture (which will be hard by now) while the electric mixer is on medium. Keep mixer on medium until all of the honey mixture is poured in.
- Turn mixer onto high setting for 10 to 15 minutes until the ingredients are thick and foamy, and form soft peaks (about the consistency of marshmallow cream).
- Add probiotics and any flavorings in the last 2 minutes of mixing.
- Grease a 13-by-9-inch pan with coconut oil, or line with parchment paper.
- Smooth marshmallow mixture evenly into the greased or lined pan.
- Let sit at room temperature for 4 hours or overnight (do not refrigerate, or the marshmallows will ooze!).
- Flip the single, large marshmallow onto a cutting board.
- Cut into desired sizes (small for cocoa; huge for chowing down) using a well-oiled pizza cutter or knife.
- Store in an airtight container at room temperature for two weeks (but this will last three weeks if probiotics are not used).
- At this point, all that's left is to enjoy the sweet fruits of your labor. Feel free to share them with your friends this is the season of giving, after all or enjoy them one by one all by yourself (you do deserve it).